image.to.design now lets you choose your output quality
-

- Name
- Ardena
- @ardena_gonzalez
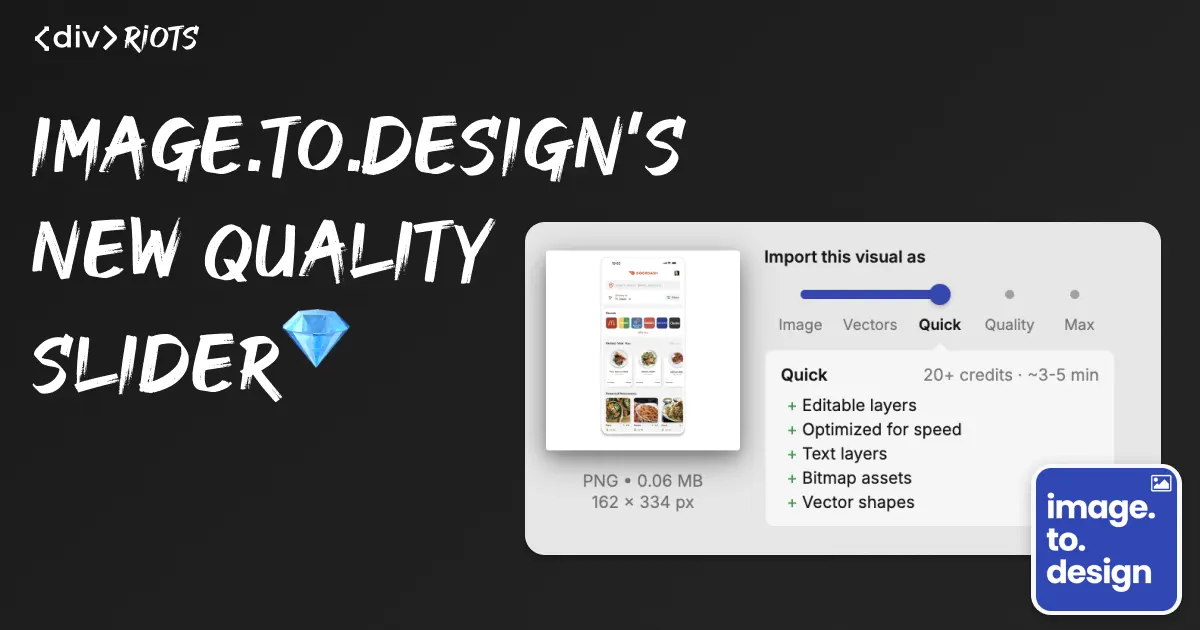
image.to.design just got a major upgrade — higher quality conversion, plus a new way to control the quality-credits ratio. Now, drop a screenshot into image.to.design and you see a new slider before conversion even starts: choose between Image, Vectors, Quick, Quality, and Max to see how the plugin trades speed and credits for fidelity.
Until now, image.to.design converted every image at a single fidelity level. You dropped in a PNG, JPG, or one of the less common formats Figma doesn’t natively support, and got back one result. This update adds a quality dial on top of that same conversion, plus major improvements to how closely the output matches the source file.
What’s new?
Quality slider with five import modes
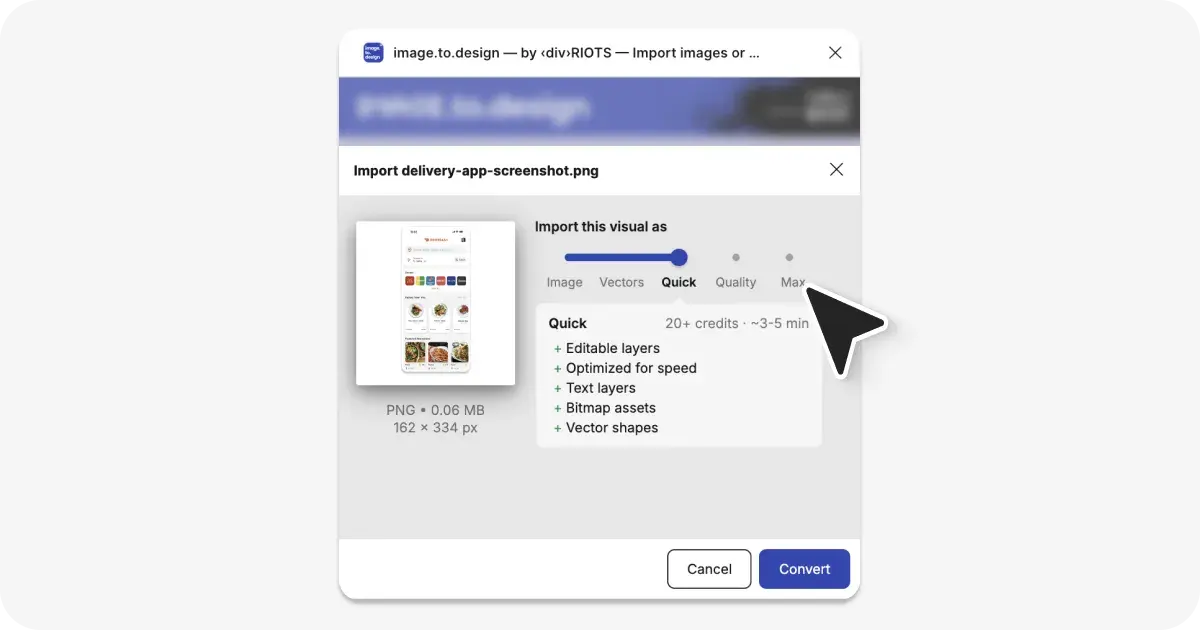
The import dialog now shows five modes to choose from: Image, Vectors, Quick, Quality, and Max. Each one produces a slightly different kind of result:
Image — imports the file as a single flat image layer. Free and instant. Supports all file types, but the result is a single layer with no editable structure.
Vectors — imports the file as editable vector layers only. Average cost is 2 credits, and conversion takes about 30 seconds. It’s built for vector graphics and logos, but text comes in as vectors rather than editable text layers, and there are no bitmap assets.
Quick — the fastest of the AI-reconstructed modes. Average cost is 20+ credits, and conversion takes roughly 3–5 minutes. Produces editable layers, text layers, bitmap assets, and vector shapes, optimized for speed.
Quality — a balance between speed, cost, and fidelity. Average cost is 100+ credits, with conversion taking roughly 5–10 minutes. Also produces editable layers, text layers, bitmap assets, and vector shapes like “Quick” mode, but is optimized for the quality/speed/cost tradeoff rather than raw speed.
Max — the highest-fidelity mode. Average cost is 500+ credits, taking up to 30 minutes to convert. This mode produces editable layers at the highest fidelity the plugin offers. The plugin’s own labeling is direct about the tradeoff: time and cost are no object, and the result is the highest quality and fidelity you can get.
Before you commit, the plugin shows the estimated credit cost and processing time for each tier, although these estimates can vary depending on the complexity and size of the specific file you’ve uploaded.
Better fidelity at every tier
Independent of the slider, this release of image.to.design also improves the underlying reconstruction — the same AI conversion step that turns a flat screenshot into editable layers now preserves more of the original detail across all three quality tiers, not just at Max. If you’ve used image.to.design before, you’ll notice a nice bump in quality and fidelity all around.
How it works
- Run image.to.design on your Figma canvas.
- Drop in your image — the plugin still handles the same wide range of formats, including ones Figma doesn’t natively support.
- Move the new slider to Image, Vectors, Quick, Quality or Max depending on how much fidelity the task needs.
- Review the credit and time estimate shown for that tier, then click Convert.
- Work with the result as editable layers directly on your canvas.
Try the new version!
The quality slider is already available in the current version of image.to.design — no separate install needed if you’re already using it.
If you haven’t used the plugin yet, you can read more about the plugin’s original release in Introducing image.to.design and try it out with 20 free credits. For a full breakdown of each mode, its credit cost and everything else the plugin can do, see the image.to.design documentation.