
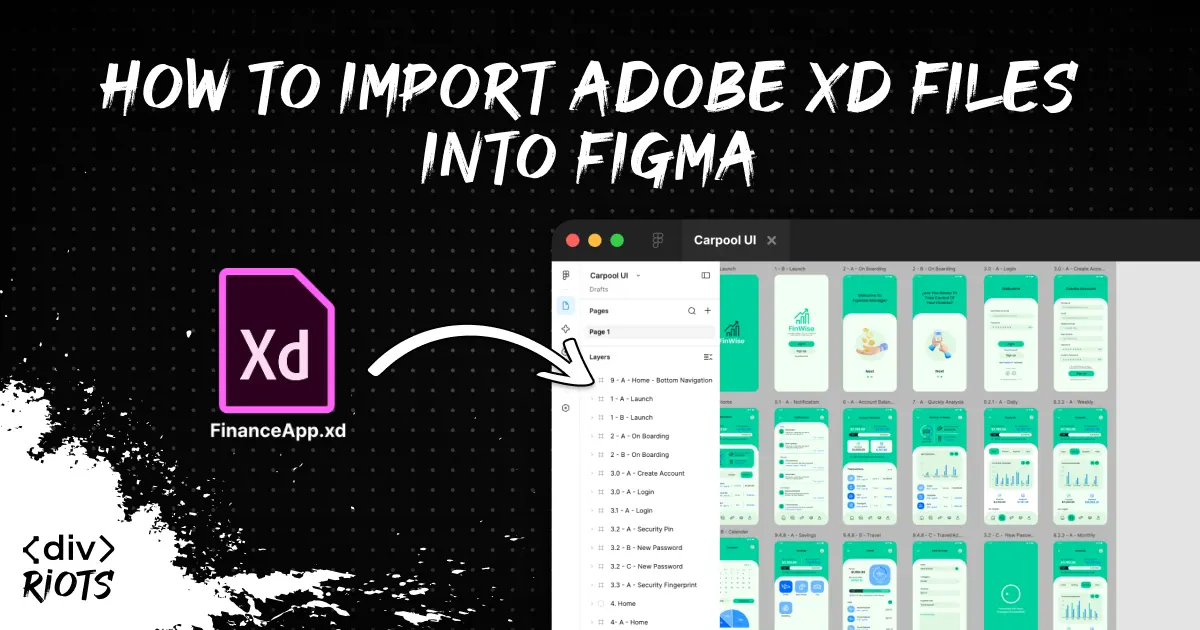
How to import Adobe XD files into FIgma
-

- Name
- Ardena
- @ardena_gonzalez
Adobe XD is in maintenance mode — your .xd files don’t have to be. Adobe has confirmed that it is no longer developing XD or shipping new features, and that it will announce an end-of-support date with a significant notice period (see Adobe’s XD FAQ). If you have years of screens, flows and UI kits saved as .xd files, that notice sets a clock running: move the work somewhere it keeps evolving, or let it freeze inside an app that no longer changes.
If Figma is your next home, there’s a catch. Figma does not open Adobe XD files natively, and .xd is not on its list of importable formats. We built xd.to.design to give XD designers a direct migration path: the plugin imports your Adobe XD files into Figma as editable layers, so you continue your designs instead of rebuilding them screen by screen. This guide shows you how to import Adobe XD into Figma in six steps, and what to expect from the conversion
What is an .xd file? An
.xdfile is the native local document format of Adobe XD, Adobe’s UI/UX design and prototyping app. XD cloud documents use a separate format,.xdc, and are stored in Creative Cloud instead of on your computer.
From Adobe XD to Figma - Quick Guide
- Save your XD design as a local
.xdfile. - Open a Figma Design file.
- Run xd.to.design from the Figma plugins menu.
- Select the
.xdfile you want to import. - Choose which artboards to bring in and replace any missing fonts.
- Your XD file is converted and ready as editable layers in Figma.
Adobe XD and Figma
Figma’s file browser imports a fixed list of formats: Sketch (.sketch), Figma Design (.fig), FigJam (.jam), Figma Slides (.deck), Figma Buzz (.buzz), Figma Sites (.site), Figma Make (.make), PNG, JPG and PowerPoint (.pptx) files (see Figma’s list of importable file types). Adobe XD is not on that list.
While XD is in maintenance mode, Adobe still fixes bugs and handles security and privacy updates for existing customers. That keeps your files openable in XD for now, but it doesn’t add a Figma export.
The result: if your team has years of product work in .xd files, you need a way to convert XD to editable Figma layers before XD support ends.
Detailed tutorial: Import Adobe XD into Figma with xd.to.design
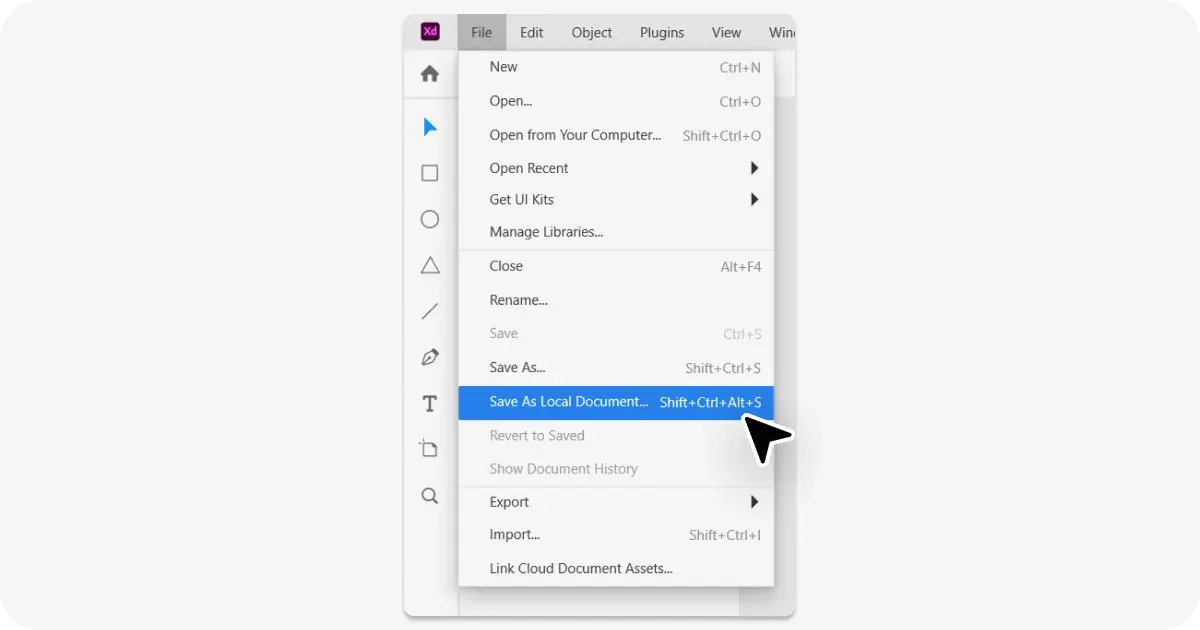
Step 1: Save your design as a local .xd file
xd.to.design reads .xd files from your computer. Adobe XD saves new documents as cloud documents (.xdc) by default, and Adobe’s FAQ confirms that cloud documents are not saved to your local file system.
If your design lives in Creative Cloud, open it in Adobe XD and save a local copy:
- macOS: click File > Save As Local Document.
- Windows: click the XD menu > Save As Local Document.
Pick a folder you’ll find again. If you already have a local .xd file, skip to Step 2.
Step 2: Open a Figma Design file
Open Figma and create a new Design file, or open the existing file where you want the XD screens to land. To keep imported screens apart from your current work, add a dedicated page (for example, “XD import”) and switch to it before you run the plugin.
Step 3: Run the xd.to.design plugin
Run xd.to.design from Figma’s plugin menu. For setup details, see the xd.to.design documentation.
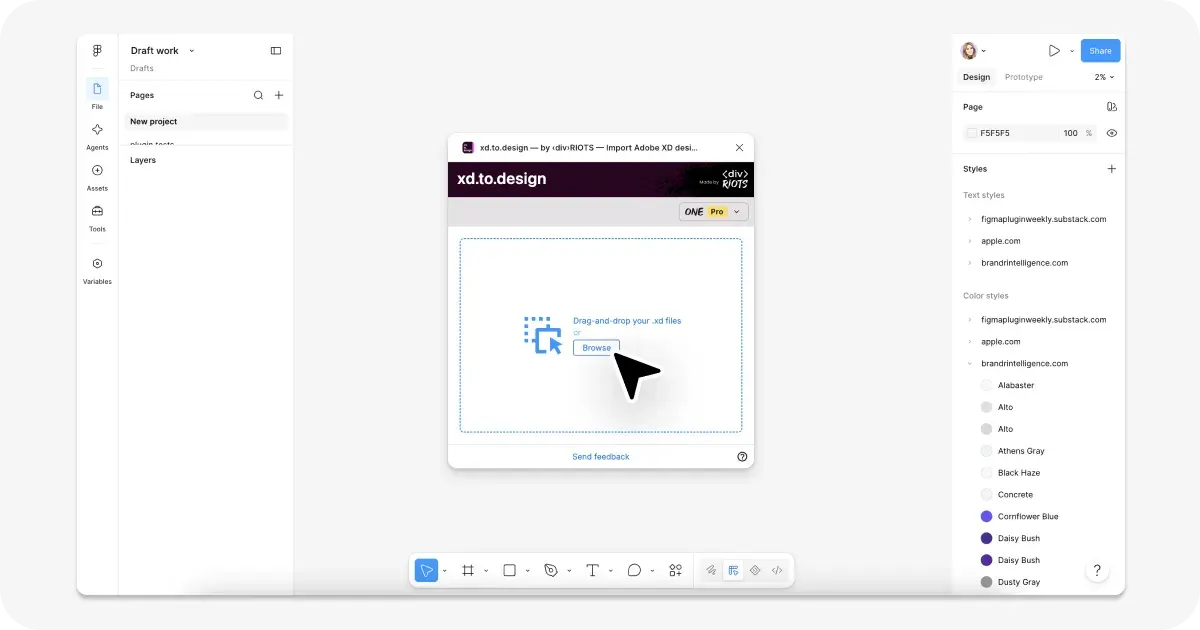
Step 4: Select your .xd file
Click the file picker in the plugin window and choose your .xd file.
Your file stays on your computer during this step. An .xd file is structured data, so xd.to.design runs the entire conversion inside the plugin, on your machine. The file is never uploaded to ‹div›RIOTS servers. We built it this way on purpose: if your archive holds unreleased product screens or NDA-covered client work, a local-only conversion keeps those files off third-party servers.
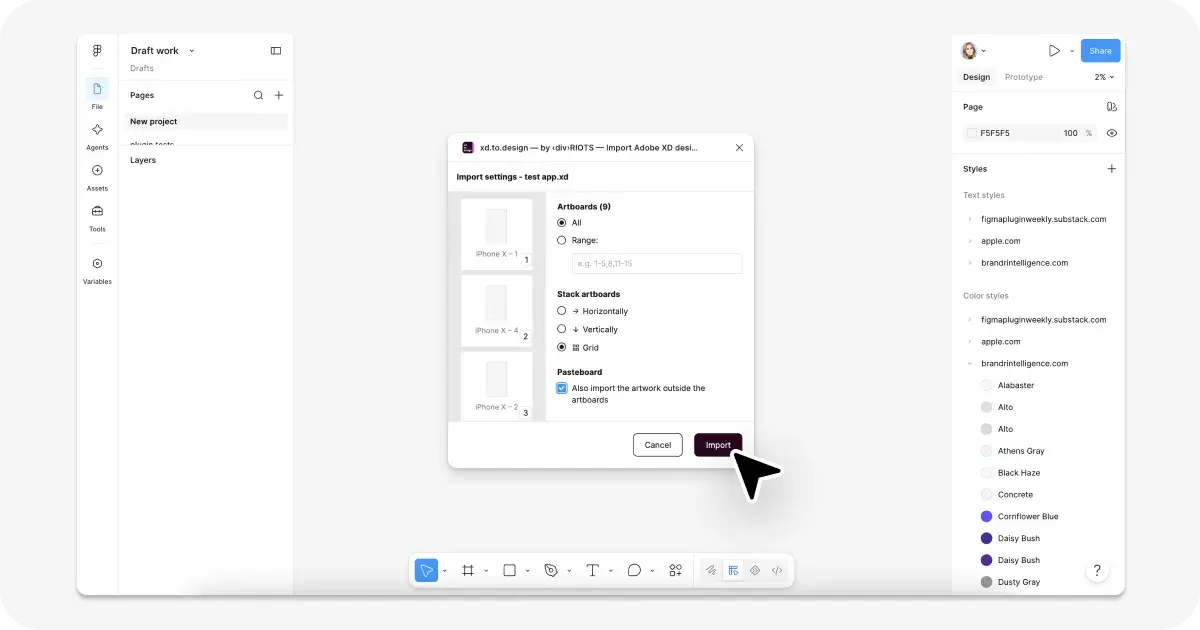
Step 5: Choose artboards and replace missing fonts
The plugin lists the artboards in your file. Decide what to import:
- Free plan: imports the first 3 artboards of a file, with 5 imports as editable layers in total.
- ‹div›RIOTS ONE: imports all artboards, or a specific range such as
2-5as well as any elements sitting on the pasteboard, outside every artboard. Turn on this option when you’ve parked icons, alternate states or notes next to your screens.
If the XD file uses fonts that aren’t available in Figma, the plugin asks you to pick a replacement for each one. Choose the closest match from your Figma fonts. The xd.to.design docs cover the artboard and font options in detail. Picking the replacement here, before conversion, saves you from hunting down and restyling every affected text layer afterward.
Step 6: Convert and start editing
Start the conversion and let the plugin process your file. When it finishes, your XD artboards appear on the Figma canvas as layers you can select, rename, restyle and reuse.
Check the Layers panel, rename anything that needs it, and start turning repeated elements into Figma components.
What to expect after importing
This section covers the main conversion behavior. For the full reference, read the xd.to.design documentation.
Editable layers instead of flat images
xd.to.design converts your Adobe XD file into an editable Figma design, not a screenshot or flattened image. You get layers you can select, rename, restyle and reuse, the same way you work with layers drawn in Figma.
Artboard selection
You control which artboards come in. Importing a range like 2-5 keeps large files manageable: bring in one flow at a time, review it, then import the next.
Fonts
When a font from the XD file isn’t available in Figma, the plugin uses the replacement you picked in Step 5. Check line breaks on text-heavy screens after a replacement, since a different typeface has different character widths.
Privacy
The conversion happens locally inside the plugin. Nothing is sent to an external server, which matters for NDA-covered client archives.
Benefits
No manual rebuild. Recreating an XD screen in Figma by hand means redrawing every shape, retyping every label and re-placing every image. The plugin replaces that with one import per file.
One pass instead of an export loop. The export method takes two tools and two steps (export from XD, then import into Figma). xd.to.design reads the .xd file directly, which cuts that to one step inside Figma.
Real editability. You get layers you can select, rename and restyle, so the imported design becomes a working Figma file rather than a reference image.
Local, private conversion. The .xd file never leaves your machine, so client and pre-release work stays on your computer.
Free to try. You start with 5 imports as editable layers (first 3 artboards per file) before deciding whether to upgrade to ‹div›RIOTS ONE.
Why and when to import XD files into Figma
-
Migrating a design archive: Move years of
.xdproduct files into Figma before Adobe announces an XD end-of-support date. -
Taking over a client project: A client hands you
.xdfiles from a previous agency. Import them and continue the work in Figma without asking them to install XD. -
Consolidating on one tool: Your team already moved Photoshop and Illustrator work into Figma with psd.to.design and illustrator.to.design. XD files are the last Adobe format left. See our guides on converting PSD to Figma and migrating from Illustrator to Figma.
-
Reviving an old redesign: Pull a legacy flow of a shelved design into a current Figma file to compare it against today’s version.
-
Rebuilding a design system: Import XD screens that contain your old UI patterns, then convert repeated elements into Figma components and variants.
Start migrating from Adobe XD to Figma
Figma doesn’t open Adobe XD files, and Adobe has stopped adding features to XD. To import Adobe XD into Figma as editable layers, save your design as a local .xd file, run xd.to.design, pick your artboards and fonts, and keep working in Figma. The conversion runs on your machine, and the free plan covers your first 5 imports.
For setup and options, check the xd.to.design documentation. Read the xd.to.design launch post for the background on why we built it, and browse the full set of ‹div›RIOTS import plugins on divriots.com.