
How to add an "Export to Figma" button to your app
-

- Name
- Ardena
- @ardena_gonzalez
A user finishes generating a landing page in your AI website builder and asks how to hand it off to their designer without rebuilding it from scratch in Figma. This is the exact problem an “Export to Figma” button solves: it takes whatever HTML your product already outputs and turns it into layers a designer can open and keep editing, instead of a flat screenshot they have to trace.
AI design generators like banani.co and brono.ai use this pattern to hand off AI-generated UI to designers. Design system tools like DNA Studio use it to bring generated components into Figma as real layers. Google Stitch added one too.
This guide shows you how to add that button to your own app using the code.to.design API, without building or publishing a Figma plugin.
You’ll need three things before you start: a code.to.design API key, any web app front end (React, plain JS, whatever you’re already shipping), and the HTML you want to convert. That HTML can be static markup, a server-rendered component, or content generated at runtime — the API doesn’t care where it comes from, as long as the CSS is inlined into the string you send.
How to add an “Export to Figma” button - Quick Guide
- Get an API key from your code.to.design account.
- Send your HTML, with CSS inlined, to the
/htmlendpoint withclip: true. - Fetch that response before the user clicks — not after.
- Store the response in memory and write it to the clipboard inside a
copyevent listener. - Trigger the copy from your button’s click handler.
- Paste into a Figma canvas to confirm you get real layers, not an image.
The rest of this guide walks through each step in detail.
About the code.to.design API
The /html endpoint you’ll wire up is one piece of a larger API. code.to.design converts HTML — including its CSS and JavaScript — into Figma designs, and it does that through two modes: clipboard mode, which is what this guide covers, and plugin mode, which runs the same conversion engine from inside a dedicated Figma plugin instead of through the browser clipboard.
Usage is credit-based. A single-page conversion through /html costs 1 credit per call. If you need to convert several screens into one result — useful for showing variants side by side in Figma — the /html-multi endpoint batches that into a single call. There’s also /html-component and /html-multi-components, which turn a page of HTML variants into a real Figma Component with proper variant properties, rather than a set of unrelated frames. A /balance endpoint lets you check how many credits your account has left before you run a batch job.
You don’t need to write any of this to try it first. The code.to.design Playground is a Figma plugin that runs the API’s conversions directly inside Figma, so you can see what a given HTML input produces before you build the integration.
Detailed tutorial
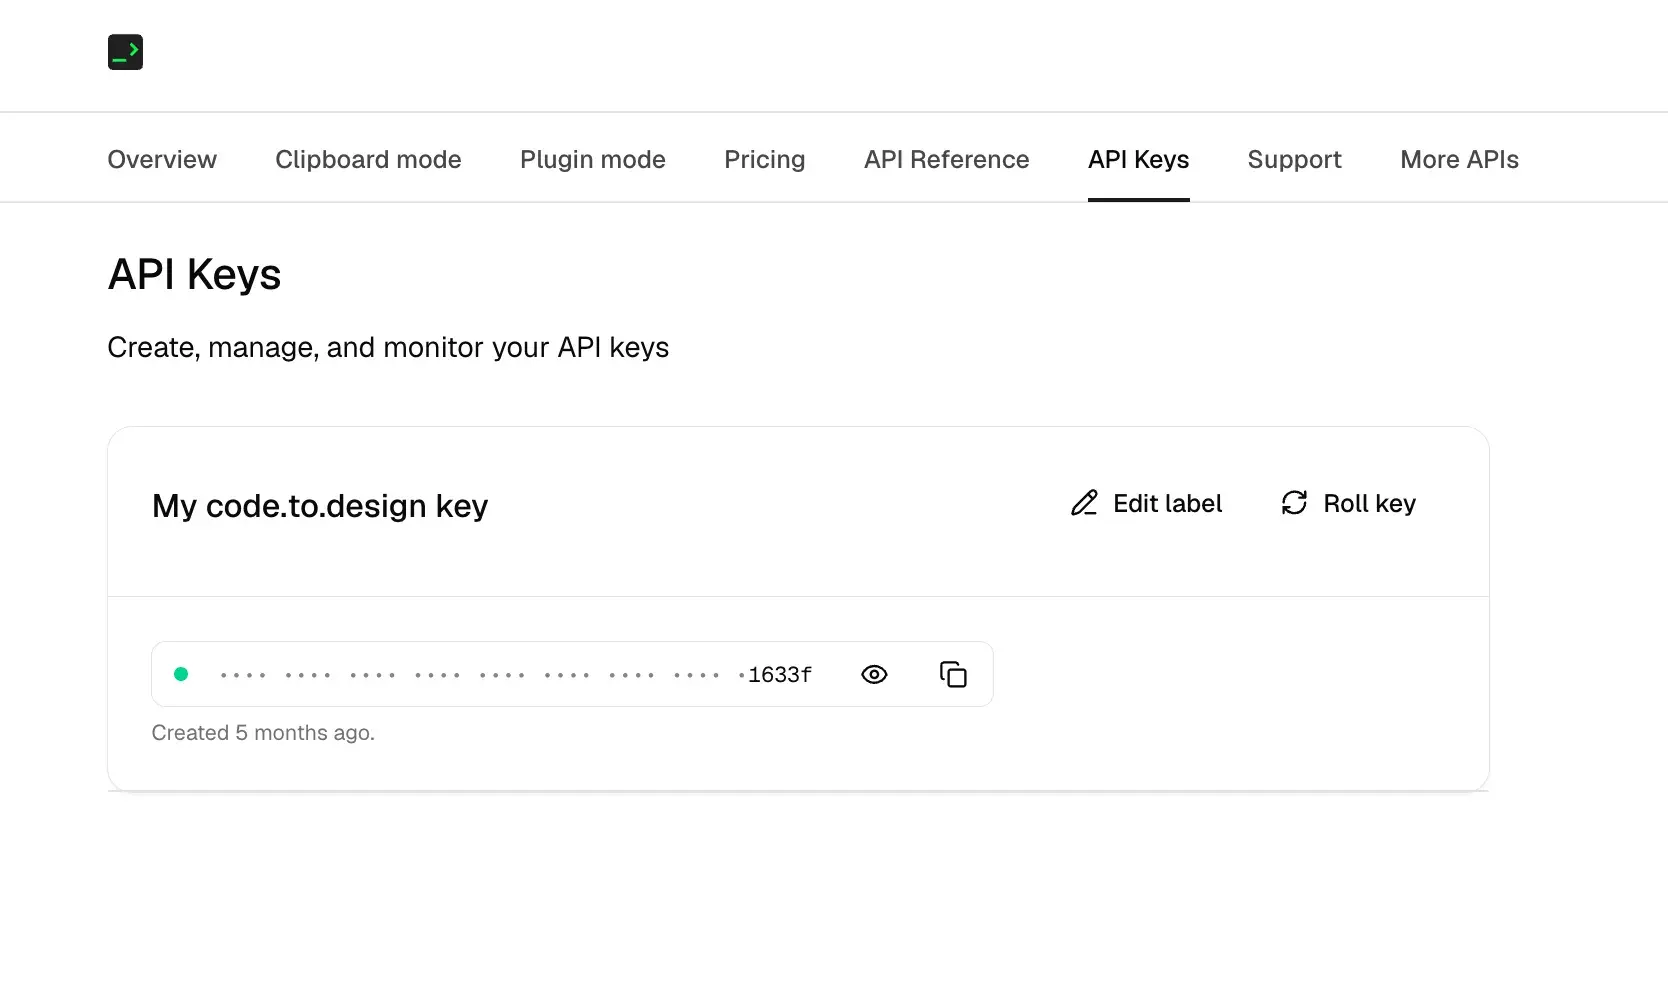
Step 1: Get your API key
Sign up and grab your API key from your code.to.design settings. You’ll pass this as a Bearer token with every request.
ℹ️ Security note: don’t call the API directly from the client with your key exposed. Proxy the request through your own backend so the key stays server-side.
Step 2: Call the API to get Figma clipboard data
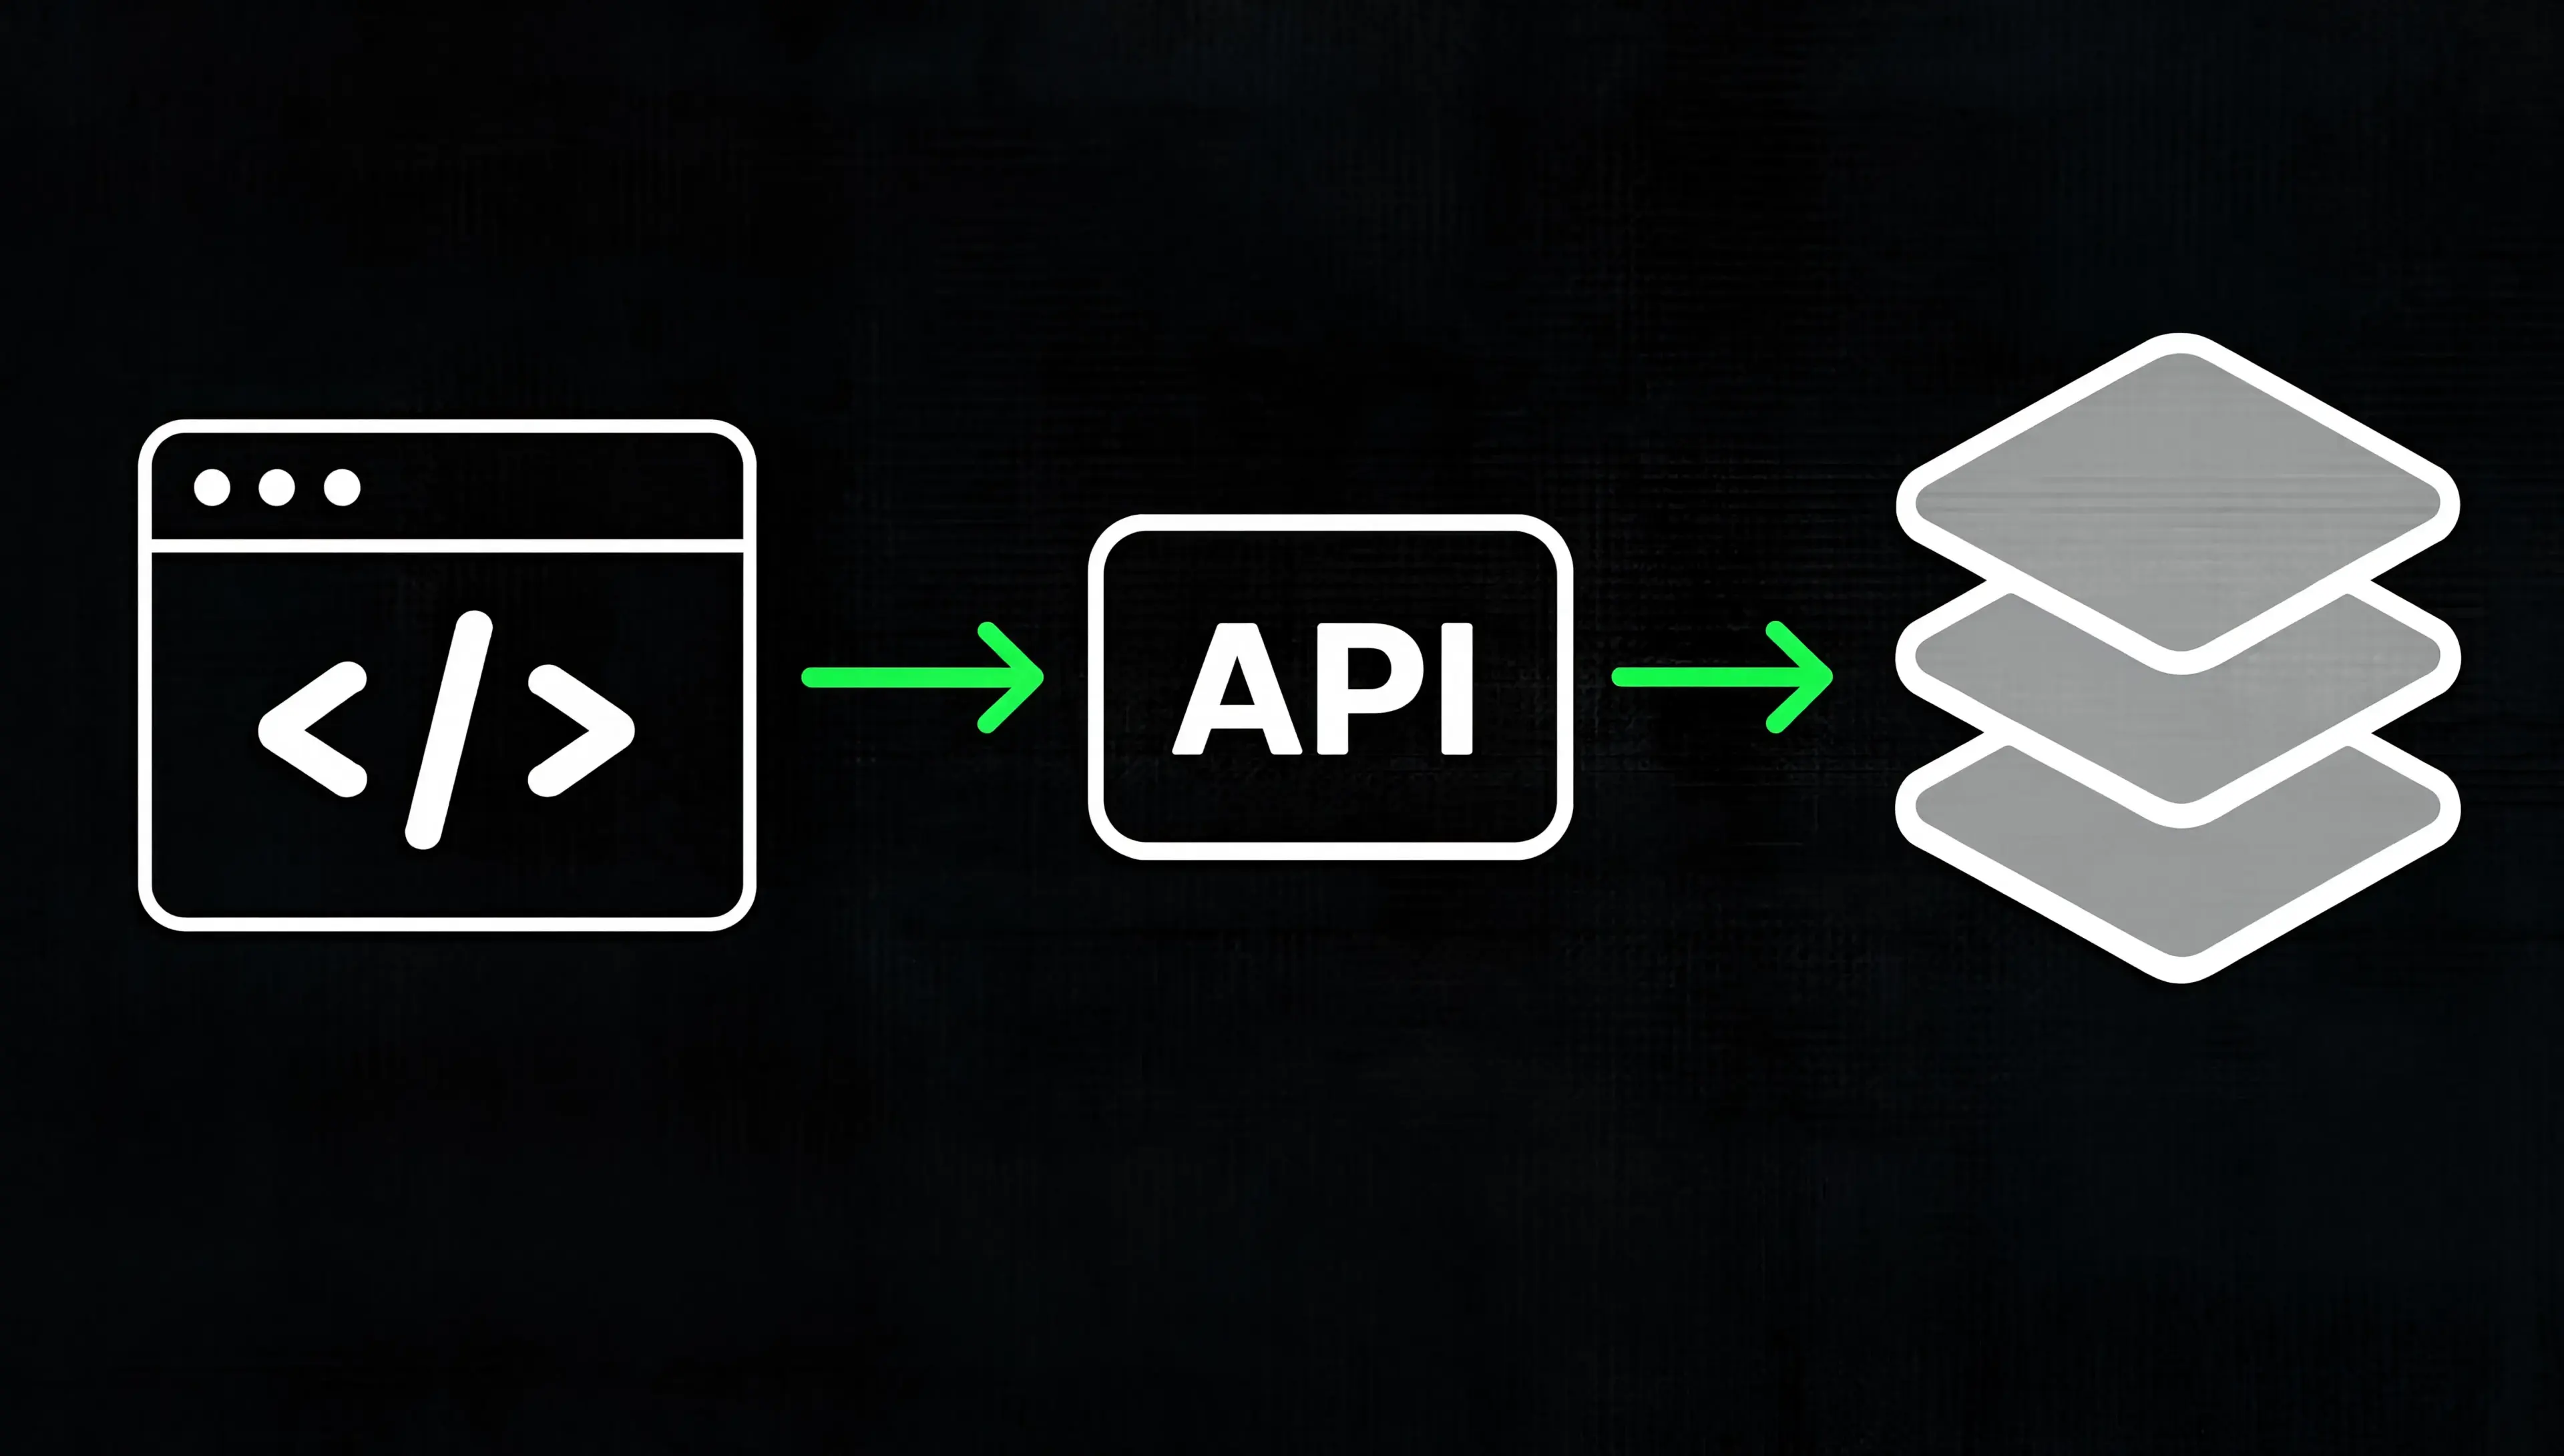
Send your HTML, with inline CSS, to the /html endpoint with clip: true. This tells the API to return Figma-native clipboard data instead of a rendered preview.
const response = await fetch("https://api.to.design/html", {
  method: "POST",
  headers: {
    "Content-Type": "application/json",
    "Authorization": "Bearer <YOUR_API_KEY>",
  },
  body: JSON.stringify({
    html: `<style>${CSS}</style>${HTML}`,
    clip: true,
  }),
});

const clipboardDataFromAPI = await response.text();
That response is structured Figma clipboard data. When it’s pasted into a Figma canvas, Figma reads it the same way it would read layers you’d copied directly from another file.
Notice that both the markup and the styles travel in a single html string. If your CSS lives in separate stylesheets or CSS-in-JS output, inline it into a <style> tag before sending the request — the API only sees what’s in that one string, so any styling that isn’t inlined won’t make it into the resulting layers.
Step 3: Wire up the clipboard copy event
Browsers only let you write to the clipboard from inside a copy event. Listen for it, and when it fires, hand over the data the API already gave you. Setting e.clipboardData inside this listener, rather than trying to write to the clipboard from anywhere else in your code, is what makes the browser treat the write as a legitimate, user-triggered copy instead of a background script poking at the clipboard:
document.addEventListener("copy", (e) => {
  if (clipboardDataFromAPI) {
    e.clipboardData.setData("text/html", clipboardDataFromAPI);
    e.preventDefault();
    clipboardDataFromAPI = undefined;
  }
});
Step 4: Trigger the copy on button click
function handleExportToFigmaClick() {
  document.execCommand("copy");
}
Attach handleExportToFigmaClick to your Export to Figma button’s onClick.
Fetch before the click, not after. As explained in the code.to.design clipboard mode docs,
document.execCommand("copy")can only be used within roughly 5 seconds of the user’s interaction — so the API call needs to happen before you show the user a “Copy to clipboard” button, not after they click it. This lines up with how the browser API works more generally: per MDN’s documentation onexecCommand, a call that isn’t invoked from inside a user-generated event handler is denied outright. In practice, fetch earlier in the flow — when the content is ready, or when the user opens the export menu — so the clipboard data is already sitting in memory the moment they click. It’s also worth knowing thatexecCommand("copy")is deprecated per MDN’s Clipboard API documentation, which recommends the newer, promise-based Clipboard API for new projects.execCommandstill works in current browsers for this kind of same-origin, click-triggered copy, but if you’re building this fresh, check code.to.design’s own docs for whether they expose a Clipboard API–based path before committing toexecCommandlong-term.
Step 5: Test it
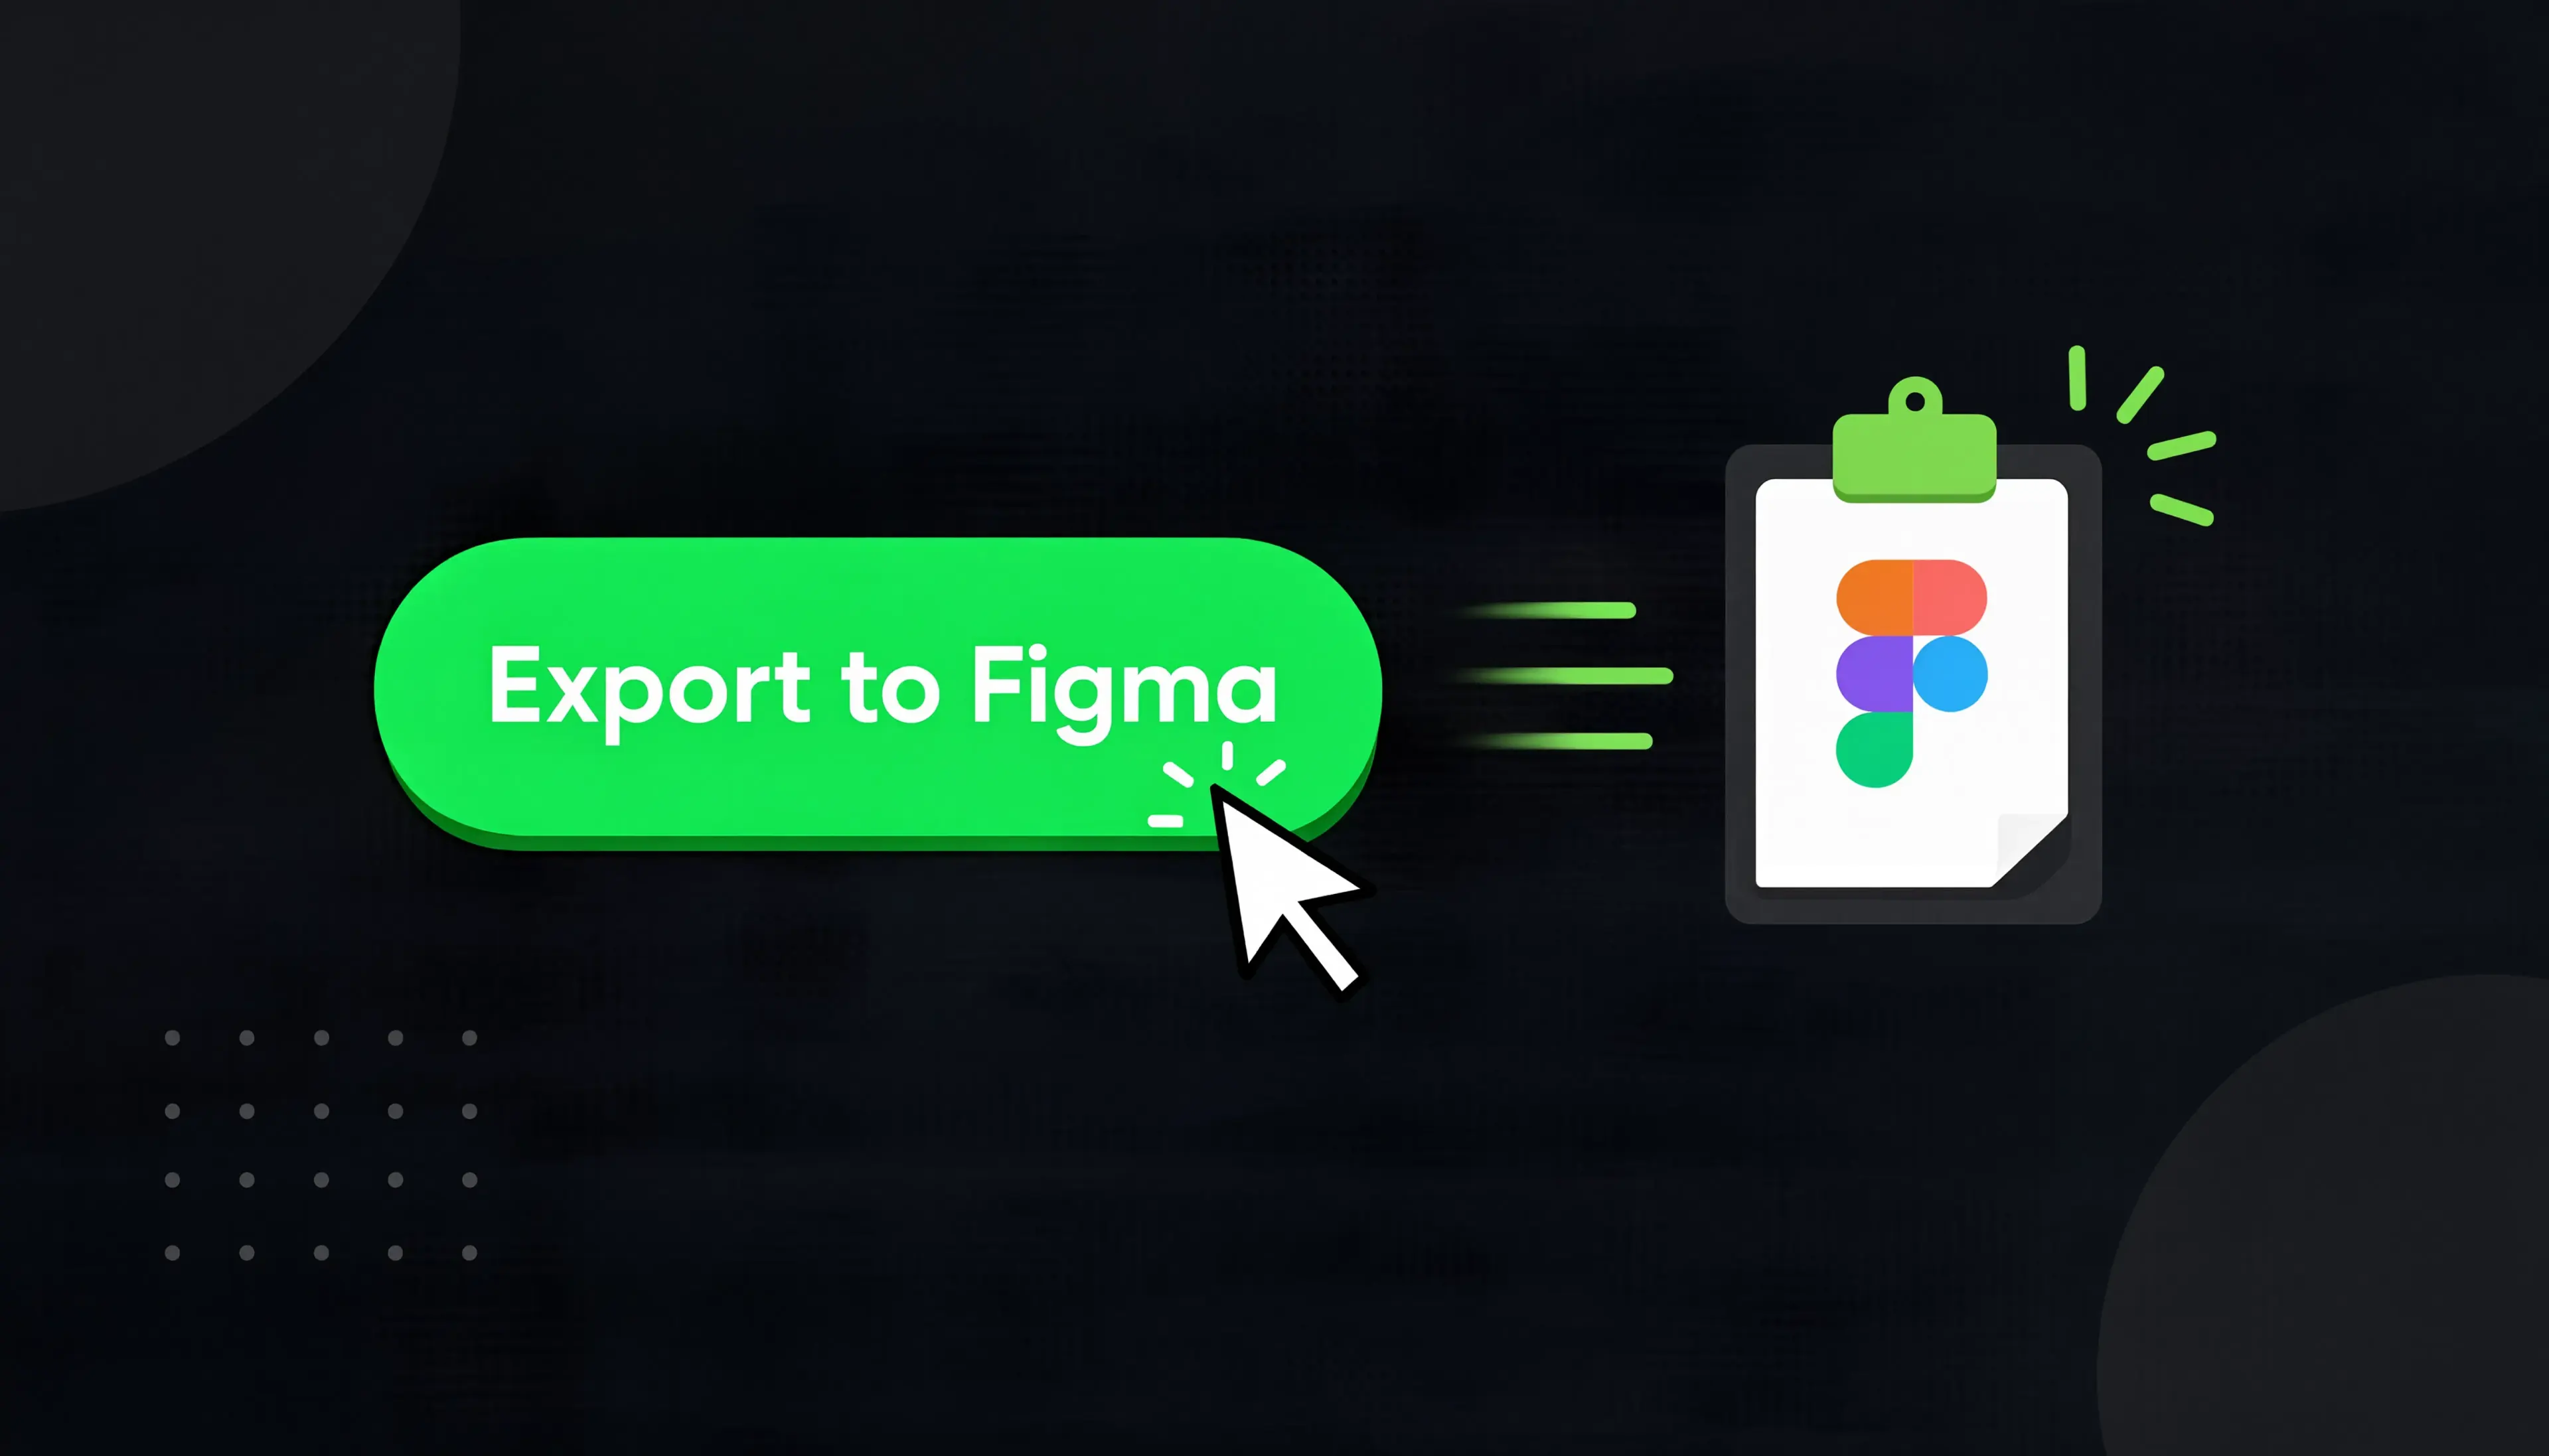
Click your button, then paste (Cmd+V / Ctrl+V) directly into a Figma canvas. If it’s wired up correctly, you’ll see real, editable layers — not a flattened image.
If paste isn’t producing layers, isolate the problem first using the code.to.design Playground — a Figma plugin that lets you test the API directly from inside Figma, without writing any code. Confirm the conversion works there before debugging your app’s surrounding code.
Benefits
-
No plugin to build or publish. Clipboard mode ships as a single API call and a
copyevent listener. There’s no Figma plugin to submit, no review queue to wait on, and nothing for your users to install. -
Users stay in your product. Instead of leaving your app to rebuild output by hand in Figma — recreating text styles, spacing, and component structure from scratch — they finish the handoff without switching tools.
-
Any HTML output qualifies. If your product renders HTML anywhere — a generated page, a component preview, a rendered template — that same markup can go through the
/htmlendpoint without a separate integration for each source. -
Real layers, not flattened images. Designers get grouped, editable layers that match the original markup’s structure, which they can keep refining, instead of a static screenshot they’d have to trace or rebuild.
Going further: plugin mode
Clipboard mode is the fastest way to ship a button from an existing web app. If you’re building a dedicated Figma plugin instead — with direct control over the resulting node structure — code.to.design also offers plugin mode, a JavaScript SDK that runs the same conversion engine from inside a Figma plugin rather than through the clipboard. See the plugin mode documentation if that fits your use case better.
“Export to Figma” feature now in your app!
A working Export to Figma button comes down to two things: getting Figma-native clipboard data from the code.to.design API, and firing the copy from inside the same click that the user triggered. No plugin submission, no review queue — just an API call and a clipboard event.
If you want to see how others are already using code.to.design in their app, check out how banani.co, brono.ai, and even Stitch from Google Labs all use the API to power their export to Figma features. Our very own html.to.design browser extension was also built on this exact technology!
Ready to try it? Get your API key and test a conversion in the code.to.design Playground before wiring it into your app.